You are essentially finished with data manipulation for this exercise. However, the spreadsheet is not clearly labeled. In order to make the sheet easier to understand, you will now insert some labels.
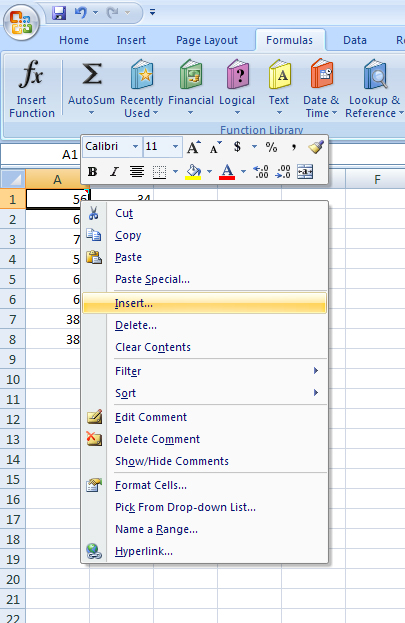
Highlight cell A1. Use the right mouse button (the one you normally do not use!). This will bring up a menu specific for dealing with cells. An example is shown below.
All these menu items deal with cells. Note, any changes you make will only occur on the highlighted cells. In this case, the changes will only occur to cell A1. If you highlight several cells and then right click, the changes will occur to all the highlighted one. Also, you will find that the right click is a very convenient trick in Excel. You can right click over almost anything and get a menu specific for that item. It always pays to try it. Play with the various menu items to see what they do.
In any case, let us select the INSERT item. This will bring up a new dialog box, check "entire row" and press OK. This will insert a new, empty row and shift all other rows down 1 row. Insert a column to the left of column A using the same technique. You should now have an empty row 1 and an empty column A.
Type "Dogs" into cell B1, "Cats" into cell C1 and "Aardvarks" into cell E1. In A8 and A9, type in "Total". Finally, in F1, type "Total Animals". By using labels, you can identify what the values in the spreadsheet represent.
You are now done with the exercise and must now save the file. From the FILE menu item, select save and complete the dialog box. Name the file firstinitiallastnamequiz1 (using you first initial and last name - my file would be named emeyertholenquiz1.xls - the xls extension will be added automatically). Save the file in some place where you will be able to access it so that you can email the file to your instructor if required. Good luck.
Back to homepage